First, I had to mark where the remote connection would be coming through the door panel. For this, I installed the door panel at the top, and swung it down to put a mark on the black plastic on the back of the door panel. Then, using that mark, I drilled a vertical hole through the panel. The problem was that the remote adapter goes through the panel at an angle. I drilled a second hole through the panel at an angle.
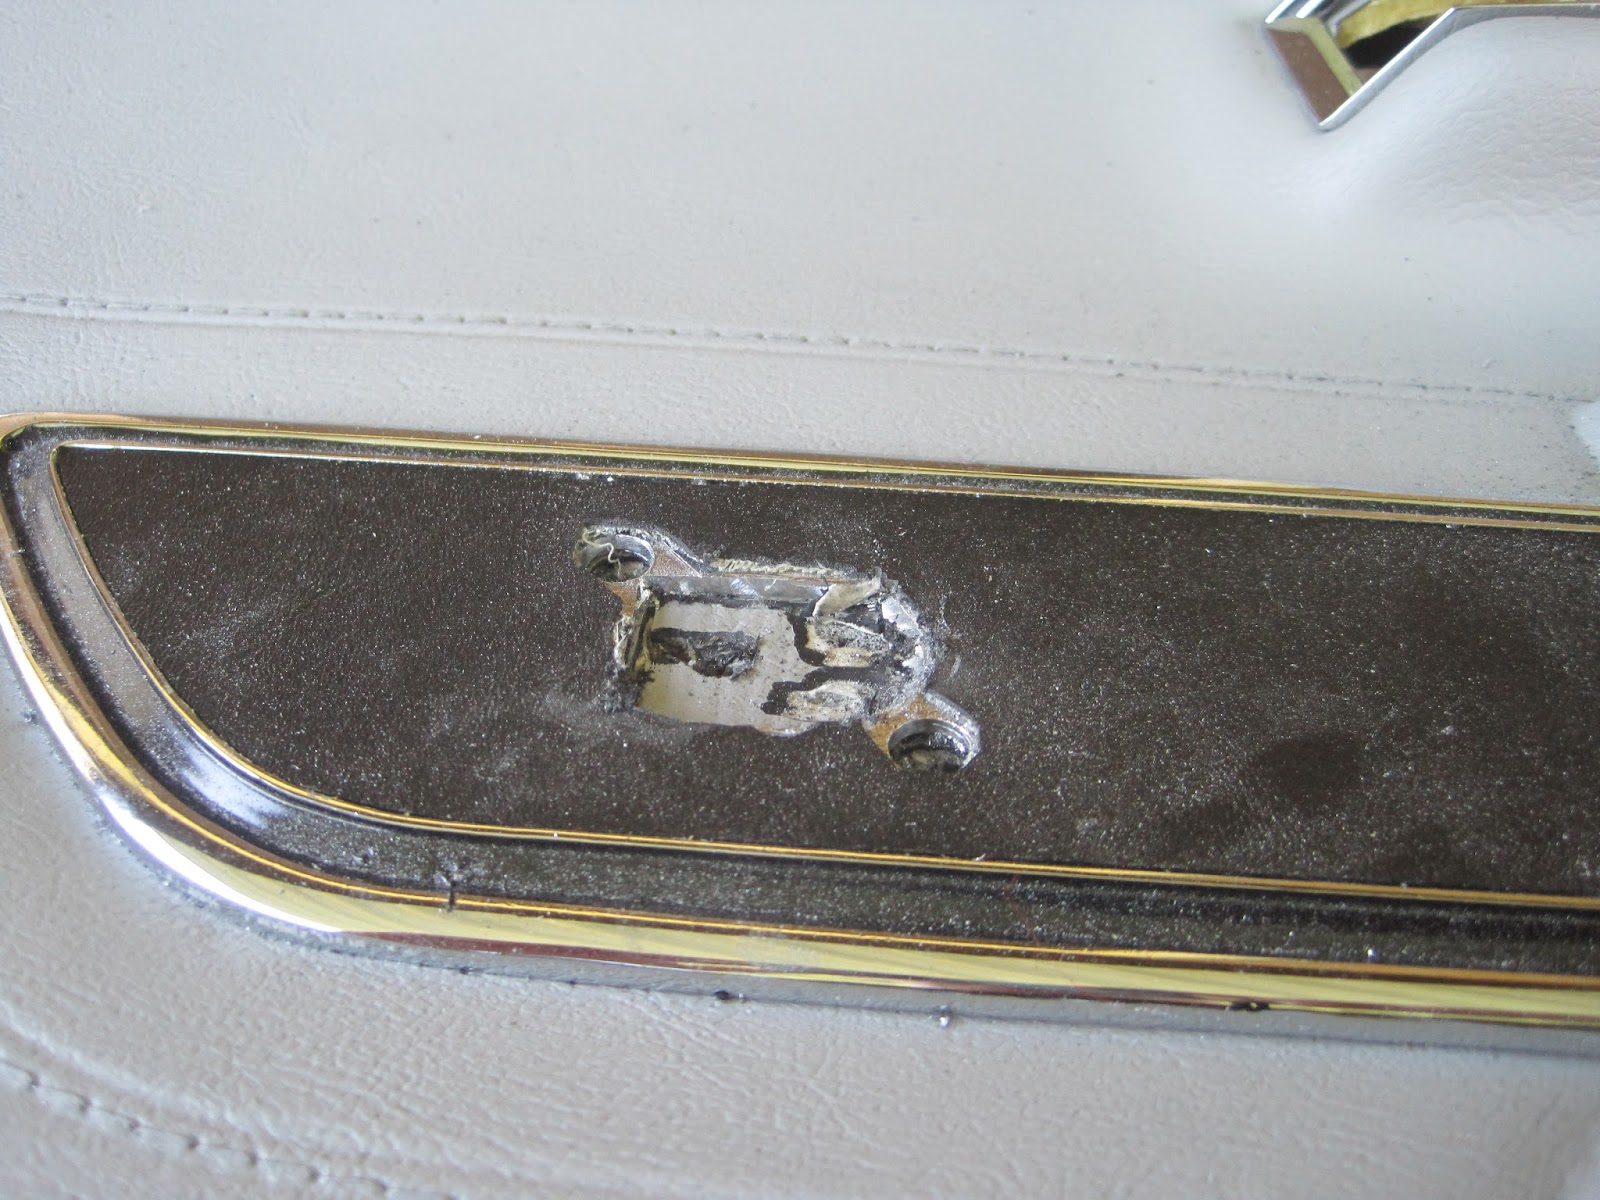
With the approximate location of where things had to be cut, I grabbed my Dremel, and (using the back side of the chrome trim for the remote as a template) started cutting the approximate location:
Once through the trim metal, I found that the "vinyl" for the door underneath. I used the Dremel again to cut through that, and found black plastic underneath that, too. Beneath that was the foam, and then the back side of the panel, which was black plastic. Cutting it out :
I then used the Dremel again to cut around and expand the "square" cut that was a template, making it very much an oval (which is what the chrome trim piece looks like). Once I was close, I placed the trim piece in position and used an awl through it to mark where the two holes to hold it in place would go. Then, I drilled them out :
With the trim piece in place, I started to look like it really belonged there :
I had a few minutes to install the door panel :
Looks like it was made that way!


No comments:
Post a Comment